はじめに
こんにちは!ひらちんです!
WEBブラウザの自動操作でおなじみの”Selenium”について、要素の指定をするときに便利なXPathの基本的な使い方を紹介します!
最近のWEBアプリは、テスト・テストでHTMLが変わってしまうなんてことも頻繁にあります。
後で修正しないといけないことを前提に考えると、サクサク直せるXPathが強力な相棒だと思います!
Seleniumって何?ってかたは、まずはこちらをどうぞ!

他にも本文下に、Seleniumに関連する記事を一覧にしています。
XPathとは
XPath(XML Path Language)は、ツリー構造となっているXML/HTMLドキュメントから要素や属性などを指定するための決まった書き方(構文)です。
以前の記事でXpathで要素を指定する基本的な書き方を紹介しました。
今回は、もう一歩踏み込んだ条件での指定の方法を紹介したいと思います!
サンプル
<html>
<header>
<title>ひらちんの部屋</title>
</header>
<body>
<div>
<h1 class="title">ひらちんの部屋サンプルHTML</h1>
<div class="caption">なんか色々</div>
<h3 class="table-title">サンプルの表</h3>
<table class="">
<thead class="header">
<tr class="header-tr">
<th class="header-midashi">見出し1</th>
<th class="header-midashi">見出し2</th>
</tr>
</thead>
<tbody class="body">
<tr>
<td class="body-td1">
<span>1行目data1</span>
</td>
<td class="body-td1">
<span>1行目data2</span>
</td>
</tr>
<tr>
<td class="body-td2">
<span>2行目data1</span>
</td>
<td class="body-td2">
<span>2行目data2</span>
</td>
</tr>
</tbody>
</table>
</div>
</body>
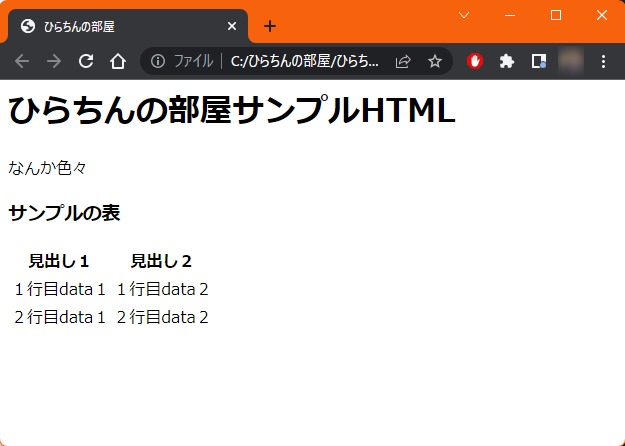
</html>今回もこのサンプルで説明していきます(^o^)
指定する文字列が含まれている要素を取得する
要素の属性値(classとかhrefとか)やテキストに「指定した文字列が含まれている」ものを指定したい場合は contains() を使います。
contains(属性, 属性値)
これを、調べたいタグの[]の中に記述します。
では次の例で実際に試してみましょう。
tdタグのclass属性に「td2」という文字列が含まれているものを指定したい場合
//td[contains(@class, ‘td2’)]
実際に、デベロッパーツールで確認してみましょう。
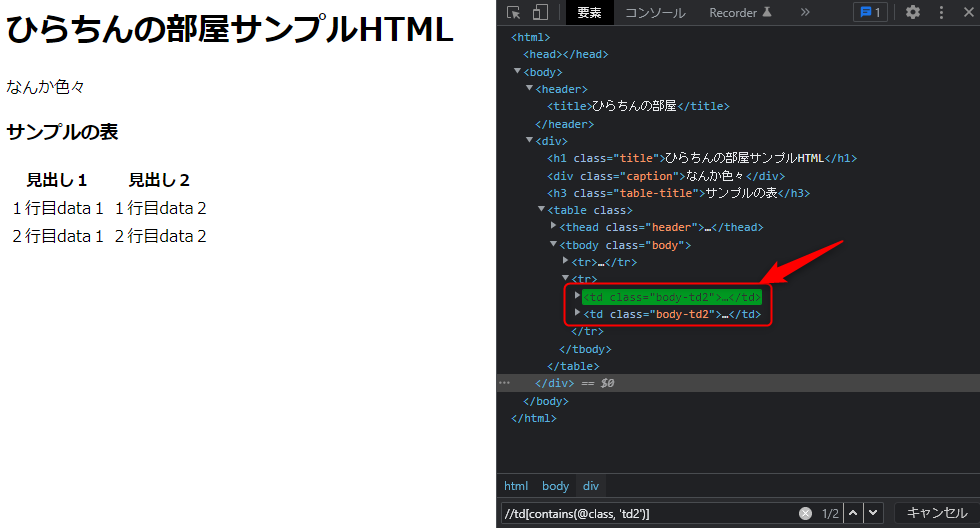
tdタグで、class属性に「td2」が含まれているものだけがヒットしていますね。
次にテキストの場合の例です。
タグは何でも良いから、テキストに「ひらちん」と含まれている要素を指定する
//*[contains(text(), ‘ひらちん’)]
titleタグとh1タグの「ひらちん」が含まれているタグがヒットしました。
要素の位置を指定する
何番目の要素かを指定したい場合は position() を使います。
position()=数値
分かりやすいように、サンプルにドロップダウンボックスを追加します。
<html>
    <header>
        <title>ひらちんの部屋</title>
    </header>
    <body>
        <div>
            <h1 class="title">ひらちんの部屋サンプルHTML</h1>
            <div class="caption">なんか色々</div>
            <h3 class="table-title">サンプルの表</h3>
            <table class="">
                <thead class="header">
                    <tr class="header-tr">
                        <th class="header-midashi">見出し1</th>
                        <th class="header-midashi">見出し2</th>
                    </tr>
                </thead>
                <tbody class="body">
                    <tr>
                        <td class="body-td1">
                            <span>1行目data1</span>
                        </td>
                        <td class="body-td1">
                            <span>1行目data2</span>
                        </td>
                    </tr>
                    <tr>
                        <td class="body-td2">
                            <span>2行目data1</span>
                        </td>
                        <td class="body-td2">
                            <span>2行目data2</span>
                        </td>
                    </tr>
                </tbody>
            </table>
        </div>

        <select class="menu">
            <option>選択する</option>
            <option>選択1</option>
            <option>選択2</option>
            <option>選択3</option>
        </select>

    </body>
</html>
下の方です。
では、次の例で試してみます。
optionタグの2番目の要素を指定する
//option[position()=2]

並びのoptionタグの2番目の要素がヒットしています。
ちなみに、
<select class="menu1">
    <option>選択する</option>
    <option>選択1</option>
    <option>選択2</option>
    <option>選択3</option>
</select>

<select class="menu2">
    <option>選択する</option>
    <option>選択1</option>
    <option>選択2</option>
    <option>選択3</option>
</select>
みたいに2つある場合は、

矢印の2つがヒットするので、ご注意ください。
positionでは、並びになっているものの順番を指定します。
もう1つ上の階層から指定すれば、1つだけヒットさせることが出来ます。
//select[@class=’menu2′]/option[position()=2]
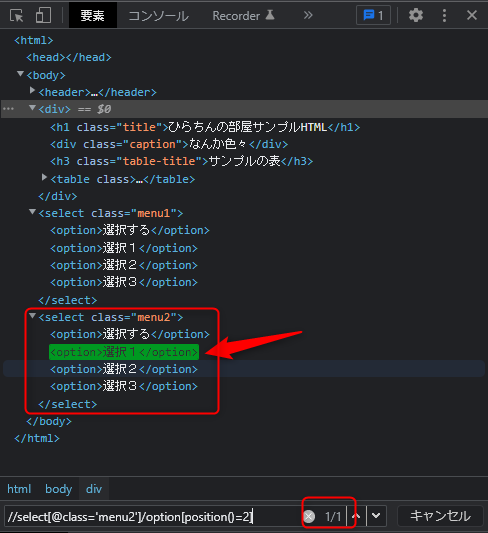
「position()=」の部分は省略出来るので、
//select[@class=’menu2′]/option[2]
と書いても同じです。
ちなみに、こういったプルダウンなんかで、1番目の「選択する」みたいなもの以外の選択肢をすべて抽出したい場合っていうのもよくあると思いますが、この場合は「<」や「>」の不等号も使えます。
「選択する」っていう選択肢は、大体1番目にあると思いますので、こんな感じにしてみましょう。
//select[@class=’menu2′]/option[position()>1]

「選択する」以外の選択肢がヒットしていますね(^o^)
複数の条件を組み合わせる
前回記事も合わせて、色々な条件の指定方法を紹介しましたが、これらを組み合わせて使うことも出来ます。
組み合わせて使うには 「not」「 or」「 and」を使います。
not は「○○じゃない」
or は「○○あるいは△△」
and は「○○でかつ△△」
です。
おなじみですね。
not(条件)
()の中に指定した条件では無い要素を指定します。
では、次の例で試してみます。
spanタグの”data2”というテキストが含まれていないものを指定する
//span[ not(contains(text(), ‘data2’)) ]
条件 or 条件
orでつなげた条件のいずれかに合致する要素を指定します。
次の例で試してみます。
tdタグでclass名に”td1”か”td2″が含まれた要素を指定する
//td[contains(@class,’td1′) or contains(@class, ‘td2’)]

条件 and 条件
andでつなげた条件のいずれかに合致する要素を指定します。
では、次の例で試してみます。
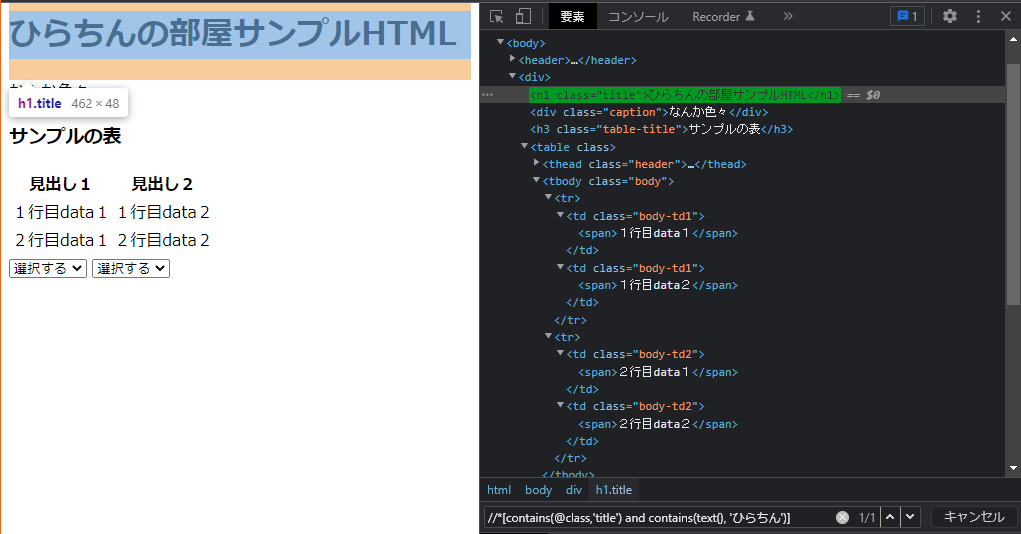
タグは何でも良いけど、class名が「title」を含んでいて、テキストに「ひらちん」が含まれている要素を指定する
//*[contains(@class,’title’) and contains(text(), ‘ひらちん’)]
まとめ
Xpathでの一歩踏み込んだ要素の指定方法を紹介しました!
ここくらいまでの知識で、かなり柔軟に要素を指定することが出来ると思います!
次回は、更に踏み込んだ上級編の指定方法を紹介したいと思います!
乞うご期待!(^o^)
コメント